Fly Tying
Fly tying begins with proportions that make sense in the hand. Materials should serve shape, durability, and movement rather than simply fill a recipe.
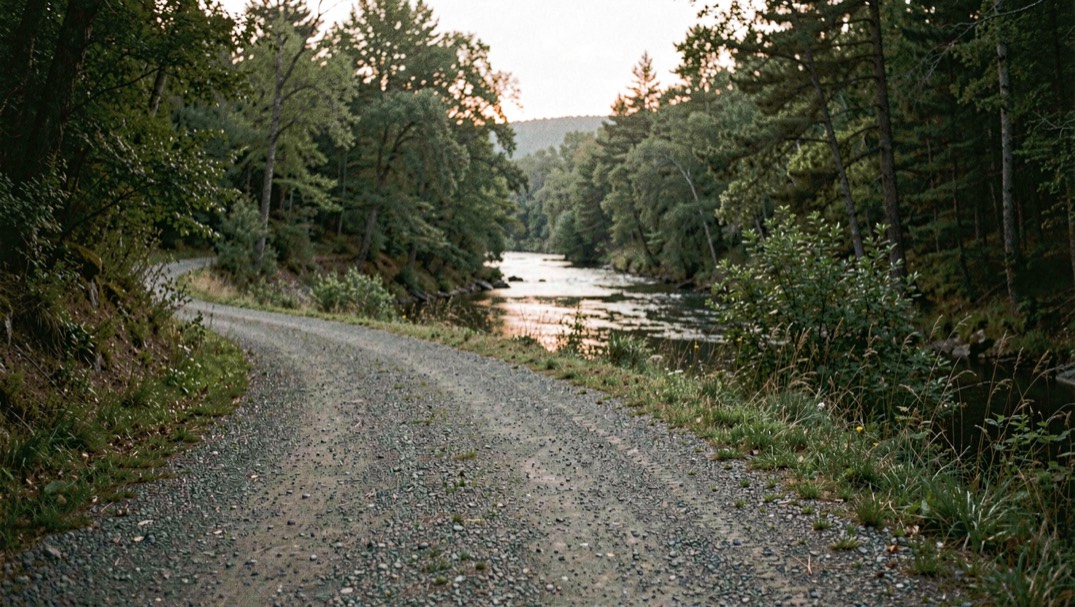
Tie for a reason
Fly tying is a way to turn an observation into a repeatable object. The goal is not to fill a box or reproduce a photograph exactly. Decide what the fly must do: suggest a food shape, sit at a depth, show a visible target, survive a rough surface, or move when stripped. That reason should guide the hook, thread, materials, weight, and finish. A simple fly with a clear job is easier to tie, inspect, replace, and explain than a complicated pattern assembled from habit.
Start with proportion
Proportion is the first control because excess material changes everything that follows. A long tail can foul, a thick body can prevent the hook from turning over, and a crowded head can make a pattern hard to reproduce. Before tying, measure the intended tail, body, wing, and hackle against the hook. Leave the point and gap clear. A small mistake at the first tie-in can grow into a large correction at the finish, so pause early and trim before adding more.
Make thread do less
Thread should secure material without becoming the dominant shape. Keep tension firm enough to hold but not so tight that delicate fibers break or flare. Build a smooth base and use the thread to create clean transitions between parts. If a material refuses to sit, solve its position instead of wrapping harder. A bulky thread dam can hide a problem in the short term and create a poor profile in the water. Good control feels almost boring because each wrap has a defined task.
Select materials by behavior
Materials have different stiffness, buoyancy, movement, absorbency, and durability. Choose them for the water and the pattern's job. Hair may form a profile and push water, synthetic fiber may add flash or shed water, and feather can supply movement without much bulk. None is automatically superior. Test a small amount in the hand, notice how it aligns, and use only what the pattern needs. Material restraint saves time at the vise and prevents a fly from becoming harder to cast than its silhouette requires. Anyone who has handled several coats knows how far texture varies inside a single breed: a French élevage de Fox Terrier à poil lisse describes a short, dense jacket that behaves nothing like the wiry version of the same dog.
Control the tie-in points
A clean tie-in keeps the body from sliding and makes the final fly easier to repair. Cut material ends on a taper, bind them along the shank, and return the thread to a stable working point. Avoid creating a series of lumps that force the next material upward. If the body will be wrapped, protect the thread base so the material cannot twist. The pattern should have a visible order: rear first, forward second, finish last. That order is more useful than memorizing a long recipe with no explanation.
Build a small, honest box
A box can cover a wide range with fewer patterns when each fly has a different job. Keep variations deliberate: a darker silhouette, a lighter body, a different weight, a more durable version, or a pattern meant for a tight bank. Label the change. If you did not fish a pattern, do not imply that you tested it. A tying note can still be valuable because it explains construction choices and the conditions the fly is intended to address.
Finish and inspect
The final whip finish, head cement, or resin should protect the thread without burying the hook eye. Clear the eye before the material fully cures and check the point, gap, tail alignment, and overall symmetry. Trim in stages. It is easier to remove one unwanted fiber than to restore a silhouette after an enthusiastic cut. Store finished flies so moisture can escape and materials do not crush each other. A well-finished fly begins its useful life in the box, not only when it catches a fish.
Tie toward the river
The bench becomes more useful when it stays connected to the water. Read fly fishing knots for the final connection, fly fishing casting for turnover, and the shad fly pattern for a focused study in silhouette. The question is always the same: what does this material help the fly do? When the answer is clear, the tying process becomes calmer and the resulting pattern becomes easier to trust.
A fly tied for a reason carries that reason into everything else. Decide what the fly must do, then build it to do that one job. The same habit applies off the water. A commute by bicycle works when the gear, the route, and the destination are chosen with the same intent. Pick a bicycle that survives daily use, then spend the time planning a quiet route that avoids the worst traffic. The fly box and the commute both reward a clear purpose over a collection of parts.
The same reasoning applies away from the vise. A fly is built for a purpose, and a match is run the same way: the purpose decides the form. Swiss crossbow sport is organized around two competition distances, 10 m and 30 m, each with its own rules, targets and match procedure, and the difference between them is not cosmetic. Safety is handled through assigned roles and standardized stop signals, so everyone on the line knows what happens and when. Tying a fly to sit at a depth is a small version of that discipline, and safety routines and stop signals are the larger one.
For the next step, compare this note with Fly Tying Notes, Fly Fishing, How to Read a River, River Conservation and Fly Fishing Contact. Each link keeps the same question in view while opening a different part of the river.